The steps below will show you how to add a custom resolution:
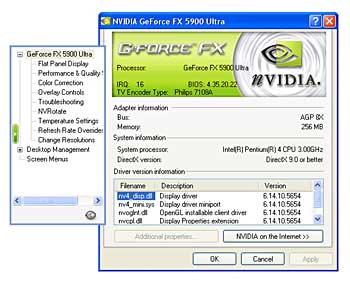
- Browse to the NVIDIA Display Properties by right mouse clicking on the Windows desktop and selecting NVIDIA Display.

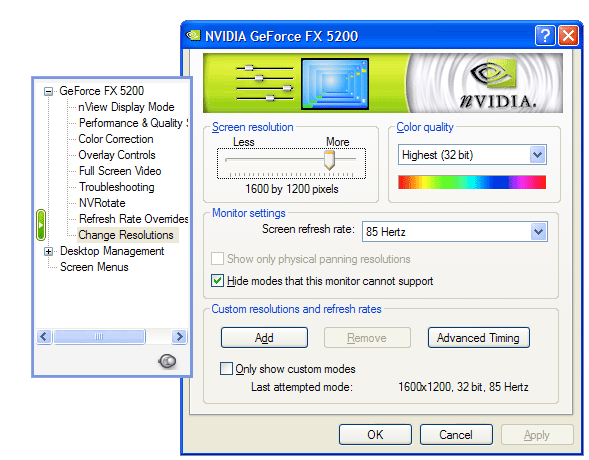
Figure 1. NVIDIA Control Panel - Select the Change Resolution option.
 Figure 2. Change Resolutions control panel
- Click the Add button.
- Read and Accept the End User License Agreement.
WARNING: If you are unsure about what your are doing, do not accept the End User License Agreement and do not proceed.
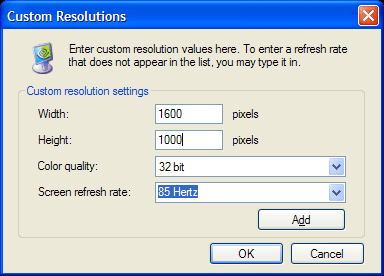
- Type in the desired settings for a custom resolution.

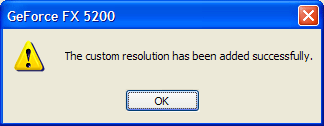
Figure 3. Add Custom Resolutions dialog box. - Click OK. The software will now perform a check to ensure the mode you have added is safe. If it is the mode is safe, the user will be prompted with a notification of a successful addition of that mode. If it is not, the user will be prompted with a notification that that mode is not safe to add.

Figure 3. Successful Custom Resolutions dialog box.
For more information on configuring Custom Resolutions on your graphics card, please consult the section Advanced Timing in the ForceWare Release 60 User’s Guide.


