GeForce Garage: Cross Desk Series, Video 2 - How to Sleeve Your Cables

Everybody digs a gaming rig with a slick custom chassis. But if you pop open the panel and cabling guts tumble forth like something out of an HR Giger nightmare, you’ve got a problem. Your components deserve better.
Sure, you can truss up rogue wiring with cable ties and careful threading behind the motherboard backplane. But why not turn the cables themselves into something as lustworthy as the chassis itself?

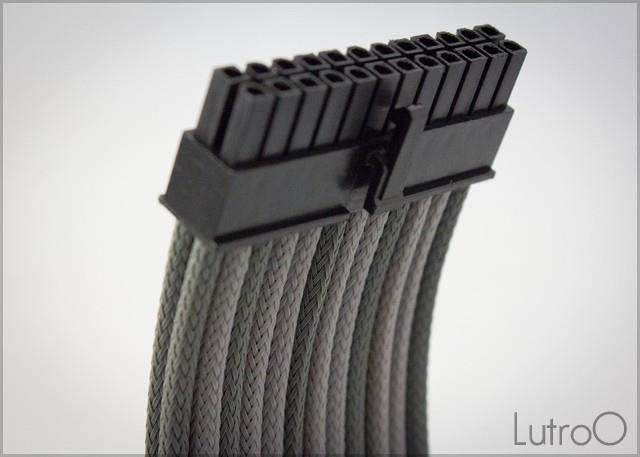
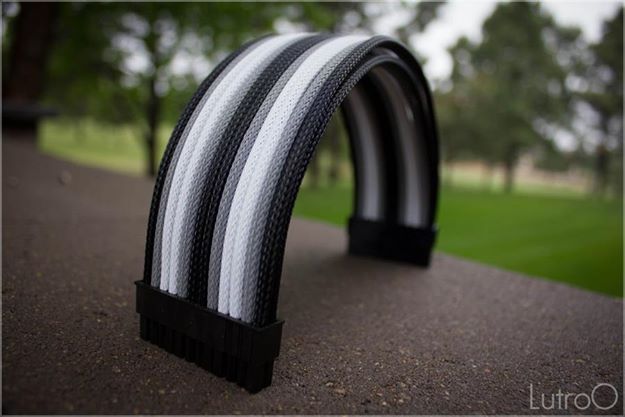
Mike Landenberger, owner of the Lutro0 Customs Sleeving & Computer Solution, has turned cable sleeving into an art form, and in the second of our GeForce Garage Cross Desk skill guides he’s going to show you how to apply his techniques to your own rigs. You’ll have a much better looking, less cluttered interior with more airflow and easier access to components - and you’ll be able to install a case window without having to camouflage your cables.
The two main custom cabling materials used by modders are paracord and PET. Paracord (an abbreviation of parachute cord) is a lightweight nylon-based rope that’s inexpensive and extremely rugged, but it can be tough for case modders to work with because it has to be stretched, and it’s susceptible to fraying over time. Mike prefers PET (short for polyethylene terephthalate, a type of plastic) which is easier to mold into shape to conform to the layout of your rig.

In this skill guide, you’ll see that cable sleeving with PET isn’t in itself a difficult or complicated process at all! However, we’ve tagged this skill guide as [Master] for good reason: you’re messing with cables and possible even power supply units, and a moment of carelessness can end up damaging your PC or even lead to injury. In other words, a big bag of sad. So don’t even think about messing with cables attached to a PSU unless you’re already well-versed in the safe handling of anything that carries a strong charge (even when turned off).
And it’s absolutely crucial that you note and record the proper order of any cables you dissassemble, that you double-check those notes, and that you replace them in the proper order.
OK, enough with the warnings already. Check out our second skill guide below, and when you’re ready to sleeve up your own rig at home, download the accompanying cheat sheet (PDF) that’ll walk you through the steps shown in the video.
For more FAQs answered by the man himself, visit this thread on overclock.net.
And keep checking back here at GeForce Garage as we update the site with more videos and cheat sheets in the Cross Desk Series!
For other skill guides involving the Red Harbinger Cross Desk:
- Episode 1: How to Modify Your Chassis to Increase Airflow
- Episode 3: How to Bend Copper Pipe For Liquid Cooling Loops
- Episode 4: How to Install LED Lighting
- Episode 5: How to Create Custom Vinyl Decals
- Episode 6: How to Fill and Leak Test Your Liquid Cooling Loop
- Episode 7: How To Overclock Your Gaming Rig
- Episode 8: How To Set Up Multiple Monitors
SPECIAL THANKS TO: |
||


